
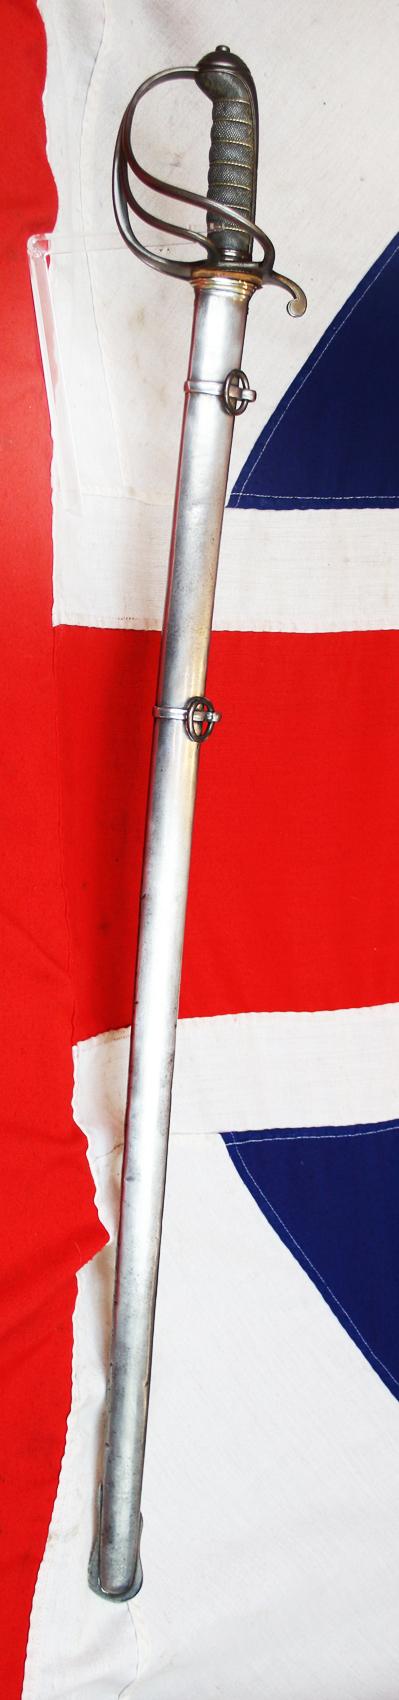

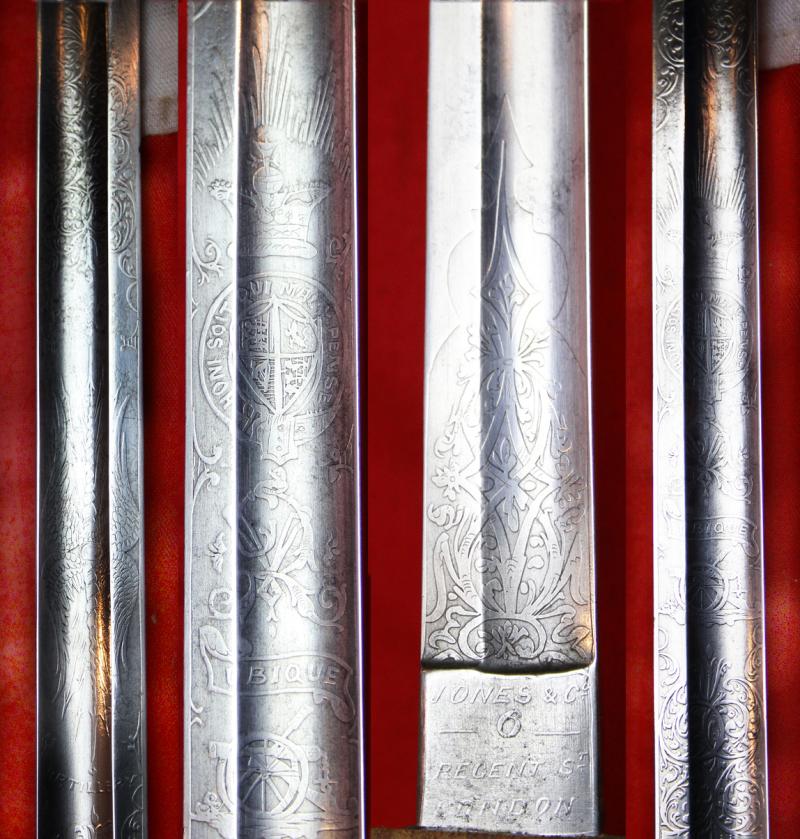
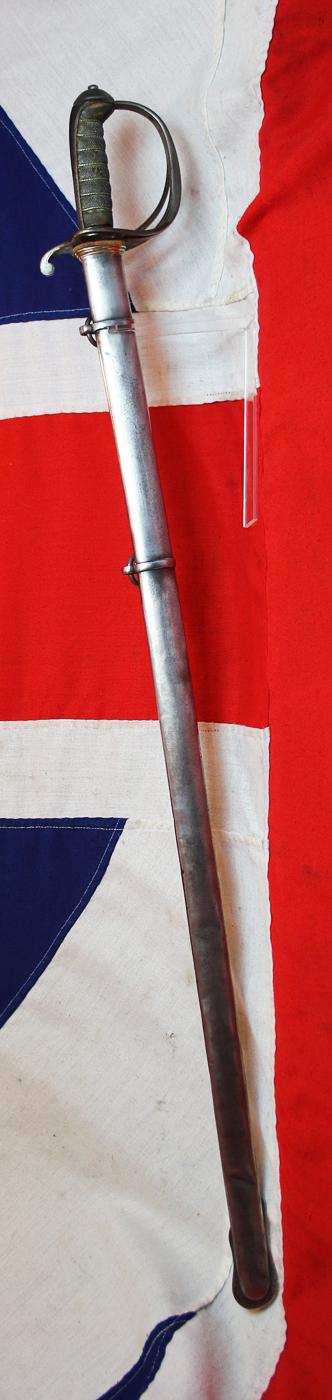
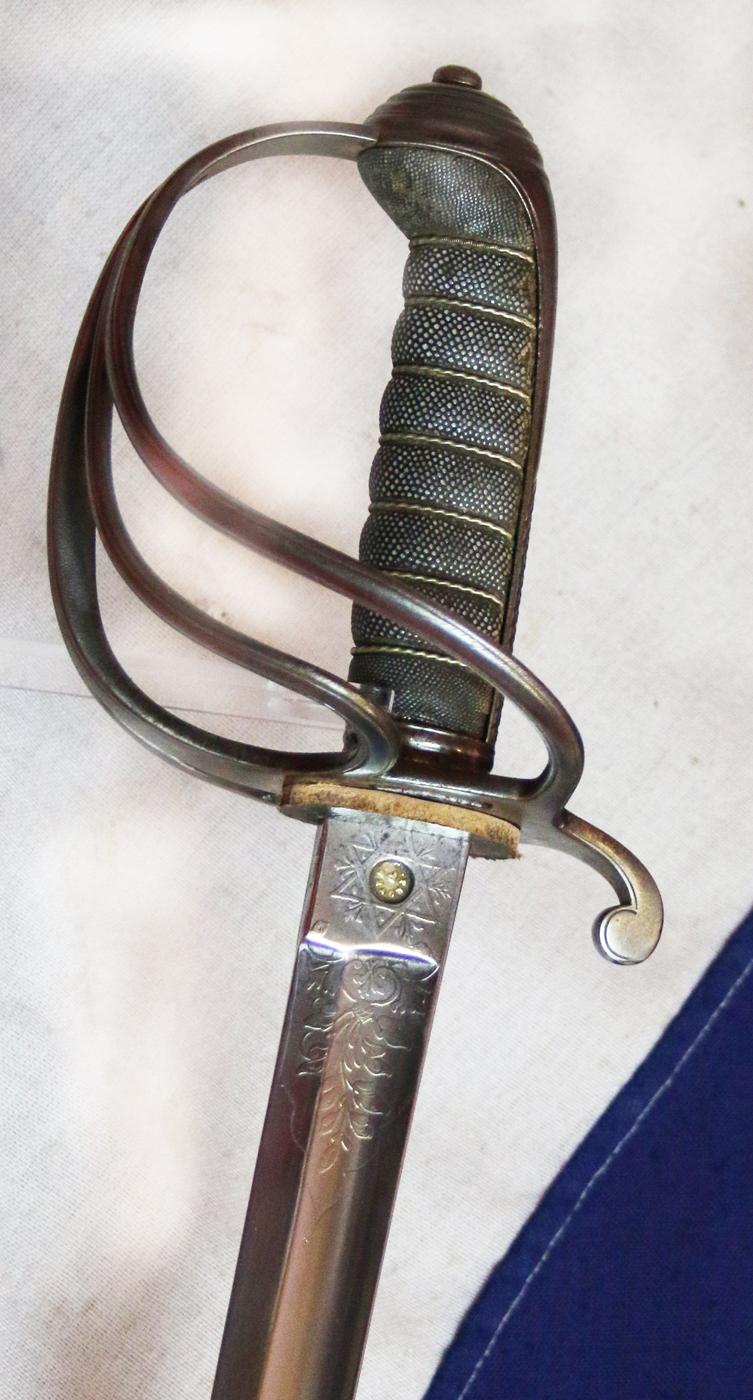
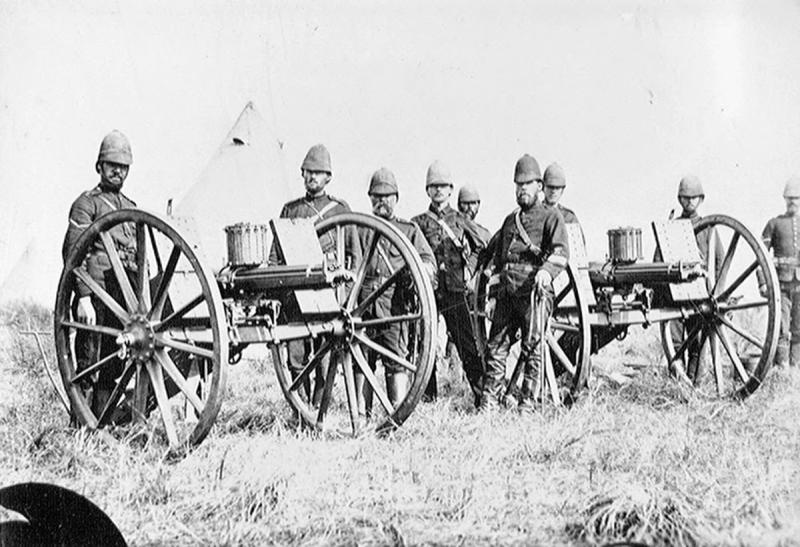
An Excellent, Victorian, Zulu War Service Royal Artillery Officers Combat Weight Sword Commissioned From Jones & Company, 6 Regent Street London of 1875 For A RA Officer That Served in The Zulu War Commanding A Gatling Gun Unit In 1879
The officer of this sword apparently served under Major Owen, of the Royal Artillery Gatling Battery.
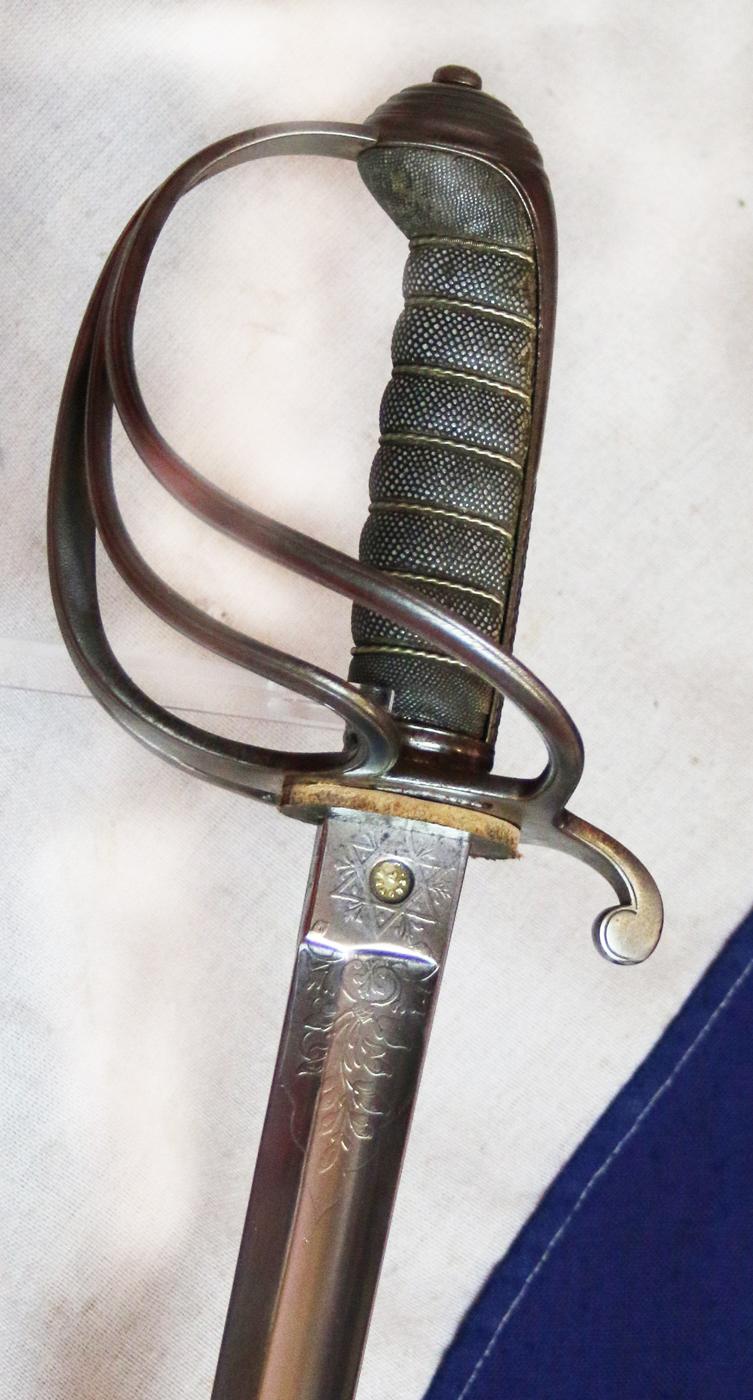
Good traditional three bar hilt with wire bound sharkskin grip, and a nicely bright combat weight blade, deluxe etched throughout, with Royal VR crest and Honi Soit Qui Mal y Pense, Royal Artillery crest of the canon with motto, Ubique. Plus the Royal Artillery badge of the winged lightning flashes between 'Royal' and 'Artillery'. In superb condition for age. Steel combat weight scabbard.
The British forces of the Royal Artillery used Gatling guns during the Anglo-Zulu War of 1879. Though relatively few in number, these early hand-cranked rapid-fire machine guns were deployed in key engagements like the Battle of Gingindlovu and the decisive Battle of Ulundi.
A Gatling gun saw early operational land use during the campaign at the Battle of Inyezane in January 1879.
Gatling guns were placed at the corners of defensive infantry squares and wagon laagers.
Issued to support British columns as rapid-fire supplements to standard artillery (such as 7-pounder and 9-pounder guns) and Martini-Henry rifles.
However they were prone to jam with the black powder cartridges of the era and cumbersome to move rapidly across rough Zululand terrain, meaning standard rifles and field cannons still carried the brunt of the combat weight.
Army Gatlings were on carriages similar to those of field guns, and were manned by a Royal Artillery battery under Major J.F. Owen, in the Zulu War. Naval Gatlings were on smaller carriages, but accounts of the war do not mention the calibre of these guns.
Gatlings for British service were destined to take the Boxer cartridge of 1866. These were not suitable, and early trials invariably led to the guns jamming as the empty case stuck in the chamber, and the extractor tore through the rim. Changes were made, but ammunition problems remained.
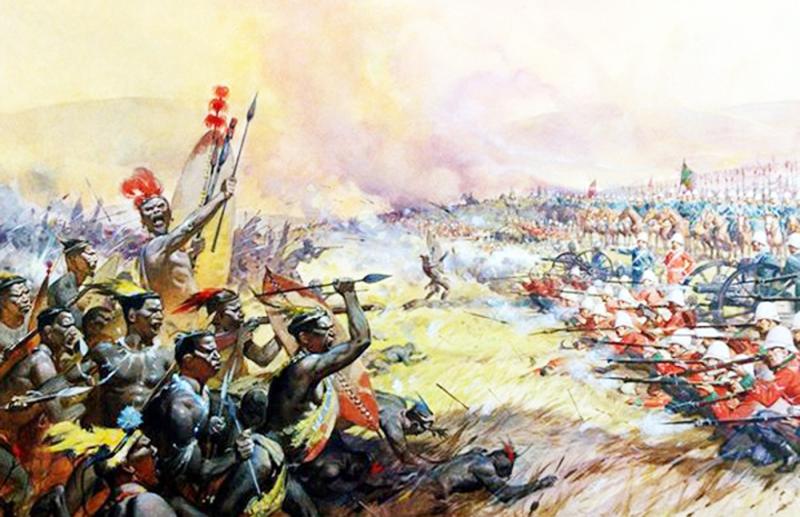
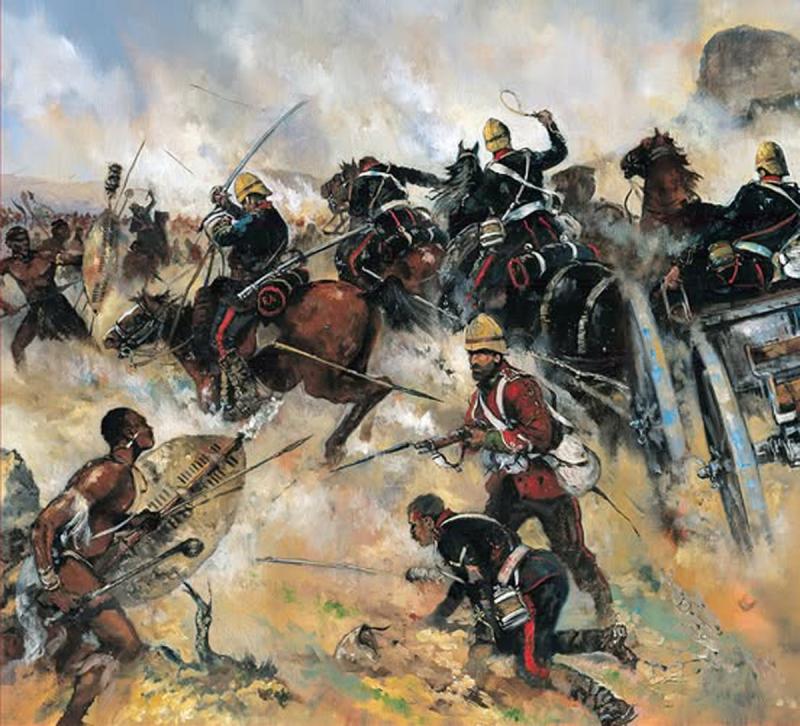
The nature of the war in Zululand meant that Gatlings were used against massed Zulu charges at close ranges, and they were very effective. Their part in the Battle of Ulundi illustrates this fact.
Combined with heavy 9-pounder field artillery and rapid Martini-Henry rifle fire, the Gatling guns helped break massed Zulu charges by sweeping open ground.
Heavy guns certainly played an important part in the Zulu War, but, as in many colonial wars, their use was one-sided. The Zulus had no artillery, and they made no use of the two guns they captured at Isandlwana.
All the main British columns had their guns, and they played a prominent part in the battles and sieges of the war. Some of the guns were obsolete by British Army standards. Nevertheless, the artillery used in the Zulu War tells an interesting story of the changes then under way from breech to muzzle loading, in the use of rockets, and of rapid fire weapons as illustrated by the Gatling gun used by the officer that owned this sword.
In 1879, the Royal Artillery was divided into horse, field and garrison batteries. Batteries were organised in brigades, and it was possible to identify the type of battery by its letter or number designation, or both.
For example, horse artillery had lettered batteries and brigades. Field artillery batteries were lettered whereas their brigades were numbered. Garrison batteries and brigades were both numbered.
N/5 Battery (or N Battery 5th Brigade) was therefore a field battery. 11/7 Battery (or 11th Battery 7th Brigade) was a garrison battery.
The Royal Artillery manned guns in Zululand but the Naval Brigades were also prominent in this respect.
Apart from the guns, all batteries carried rockets - one 9 pr trough per section of two guns. The Naval rockets were 24 pr tubes. Finally, there were the Gatlings - once again, Army and Naval versions. Isandlwana - 22nd January, 1879
Section N/5 Battery Two 7 prs, Rocket Battery Three rocket troughs
N/5 Battery (less one section) accompanied Lord Chelmsford on his abortive reconnaissance in force, and took no part in the battle. The Rocket Battery, with its equipment carried on mules, then accompanied Col Durnford's force when it also moved out of camp; but the battery was unable to keep up with the remainder.
When firing was heard to their left, the Rocket Battery and its escort turned in that direction, but they were almost immediately engulfed by the Zulus. There was only time to get off one rocket before the enemy was upon them.
Maj Stuart Smith, the Captain (or second in command) of N/5 Battery, returned from Lord Chelmsford's force before the Zulus attacked, and took command of the artillery left behind. This only amounted to one section of two guns-and fifty men left in camp.
The Zulus advanced very rapidly when they attacked. The guns opened fire, but it was soon necessary to change to case shot, which is not normally used at ranges greater than 300 m. The two guns were quite incapable of stopping the Zulu masses. After a round or two, the order was given to retire. Maj Stuart Smith was wounded, and there were other casualties as well. There was no time for the men to take their seats on the guns and limbers when the guns moved off, and they had to run alongside the guns.
The intention was to take up another position at the camp, but the Zulus were there first. The guns went straight through the camp, losing more men on the way. Eventually, they became stuck in a ravine, and the drivers, who now alone remained, were pulled off their horses and killed. There was no time to spike* the guns.
{*To spike a gun, a spike (like a nail) was hammered into the vent, thus preventing the firing of the gun.}
N/5 Battery had lost Maj Stuart Smith, 61 NCOs and men, two guns, 24 horses, 30 mules and 534 rounds of ammunition. The Rocket Battery lost Maj Russell, six men and all its equipment. Kambula - 29th March, 1879
11/7 Battery (less one section),Four 7 prs, Rocket Section, Two rocket troughs, Section 7 prs Two 7 prs. Lt Nicolson's 7 pr section was in the redoubt, while the four guns of 11/7 were in action outside. Nicolson was mortally wounded early in the action.
With a muzzle loading gun, it was necessary for one of the men to 'serve the breech' by placing his thumb on the vent during the sponging out after each round was fired. This prevented a draught which could cause the smouldering fragments of the previous cartridge to burst into flame. The Zulu attack at Kambula was so fierce and the guns, as they poured forth shrapnel and case, became so hot that water had to be poured over them to allow the breeches to be served.
After his capture, Cetewayo said that it was only with the greatest difficulty that his men could be forced to face the guns. One round of case killed ten headmen of his own regiment, in addition to wounding others.
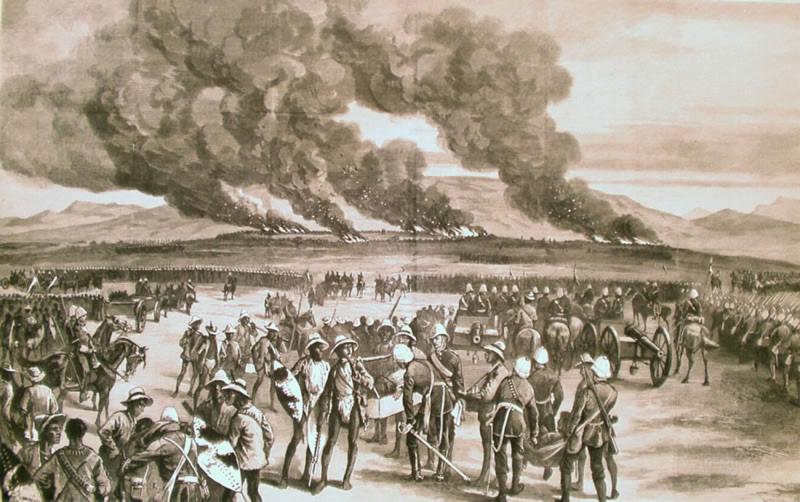
Ulundi - 4th July, 1879
N/5 Battery Two 7 prs,
N/6 Battery, Six 9 prs,
Half O/6 Battery. Ammunition Column,
11/7 Battery (less one section), Four 7 prs
This was the artillery of the 2nd Division and the Flying Column, less four guns of N/5 Battery, and two of the Gatlings.
One section of two 7 prs was at Fort Marshall, and the other section was at Fort Evelyn. The Gatlings were left at Fort Newdigate.
For the battle, the guns were placed on all sides of the British square, in order to meet the Zulu attack, from whatever direction it might come. They were in action just outside the infantry line, or in gaps left for them. When the Zulus attacked, the cavalry moved clear, and fire was opened at a range of over 2000m.
Although the action was short, and ammunition expenditure was low, some guns used all their case and had to fall back on reversed shrapnel, which had a similar effect. Later, Zulu dead were counted in groups at less than 30m from N/6 Battery's guns.
The Gatlings achieved considerable success, although they jammed several times. The London Standard reported: 'When all was over and we counted the dead, there lay, within a radius of five hundred yards, 473 Zulus. They lay in groups, in some places, of fourteen to thirty dead, mowed down by the fire of the Gatlings, which tells upon them more than the fire of rifles.'
The battle was over in half an hour. The mounted troops were sent out in pursuit and, when there were signs of a rally, a section of N/6 soon dispersed the gathering.
Overall hilt and scabbard with service grey finish, with superb bright blade. Scabbard bottom section with edge defensive spear cuts, and small denting
A photograph in the gallery is of a Zulu War Gatling battery and one officer bearing his same three bar RA sword held in his left hand.
Code: 26339